Anna Weaver Photography
|
Digital Photography has been a great class for me because after taking it I have gained some really useful skills that I can apply to my everyday life. In this class, we touched on essentially every aspect of the process, from taking care of your camera to adjusting the settings to taking photos to finally editing them in photoshop. It is obvious that I have come a long way in all of these areas since the very first day. Here are some of the first pictures I took on a digital camera from the first week:
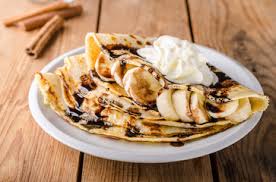
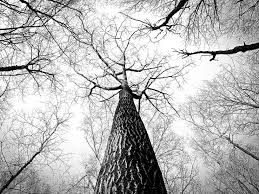
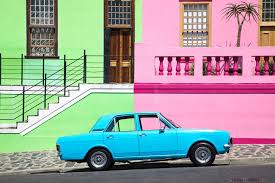
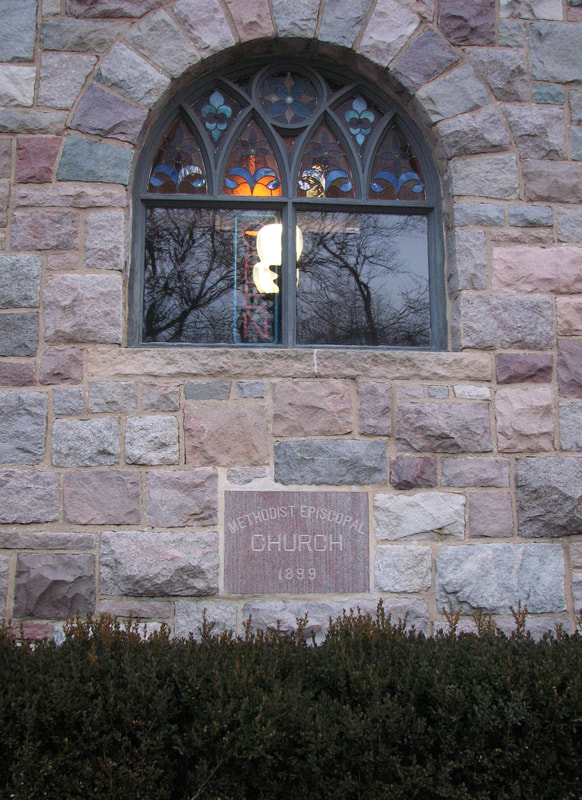
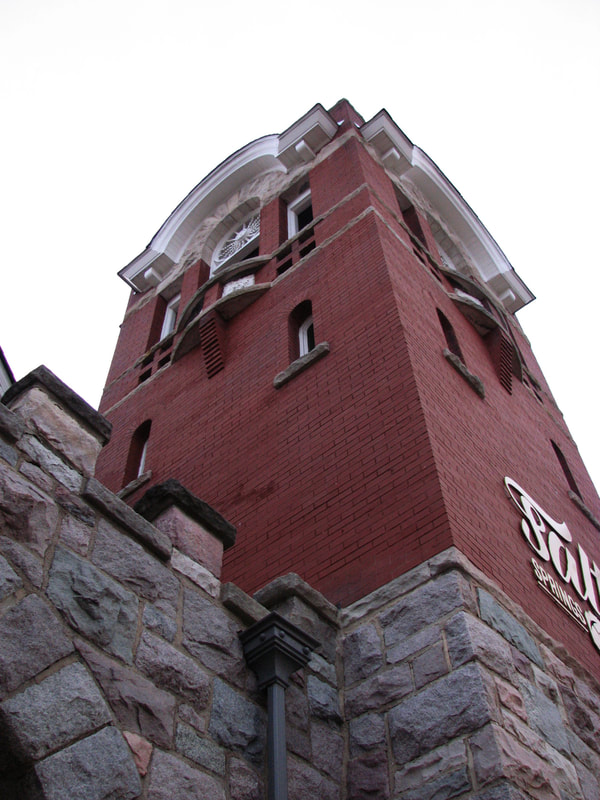
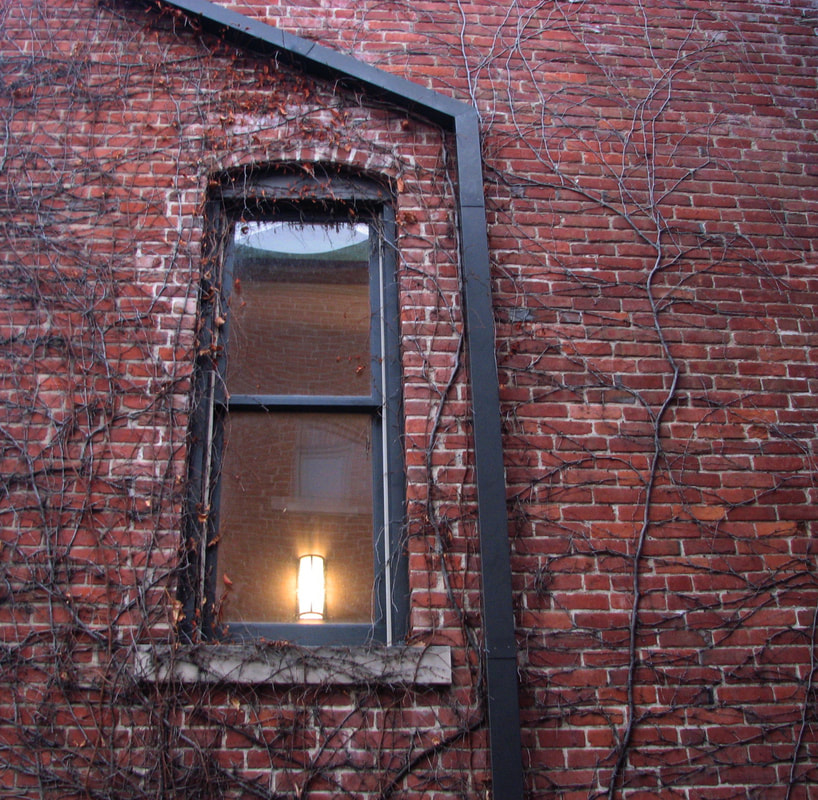
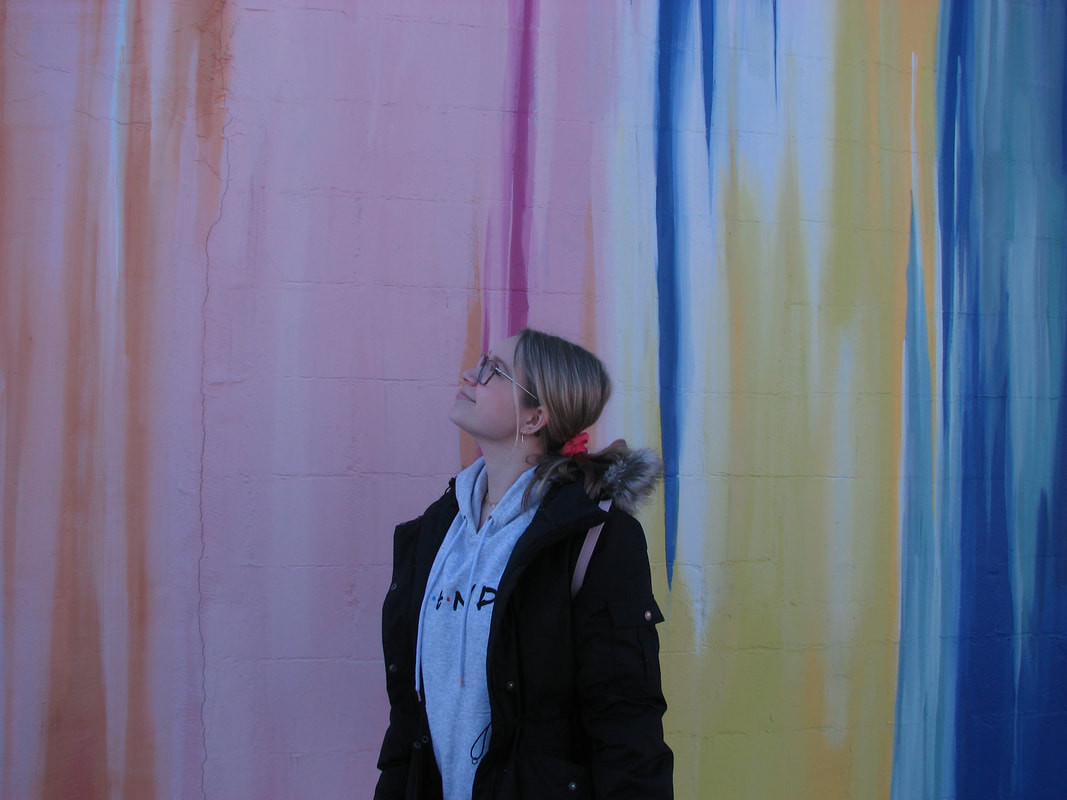
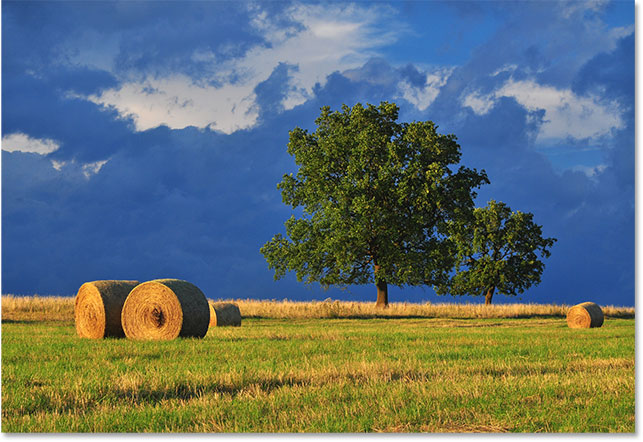
My perspective on these photos is very different now compared to when I first took them. It is clear that the creativity and intent is lacking and that I was still learning the ropes of camera settings. I took all three of these in Auto mode. Also, the composition is lazy. Some are taken from odd angles or don't have a clear subject or message of intent. I'm happy to say that my skills have improved a lot since these photos were taken. I think that this improvement started to occur once we began weekly shooting assignments. Since I was taking 50-100 pictures a week of different subjects, I started to get a lot more creative and better at adjusting camera settings according to the situation I was in. Here are some of my favorite images from various shooting assignments I did: 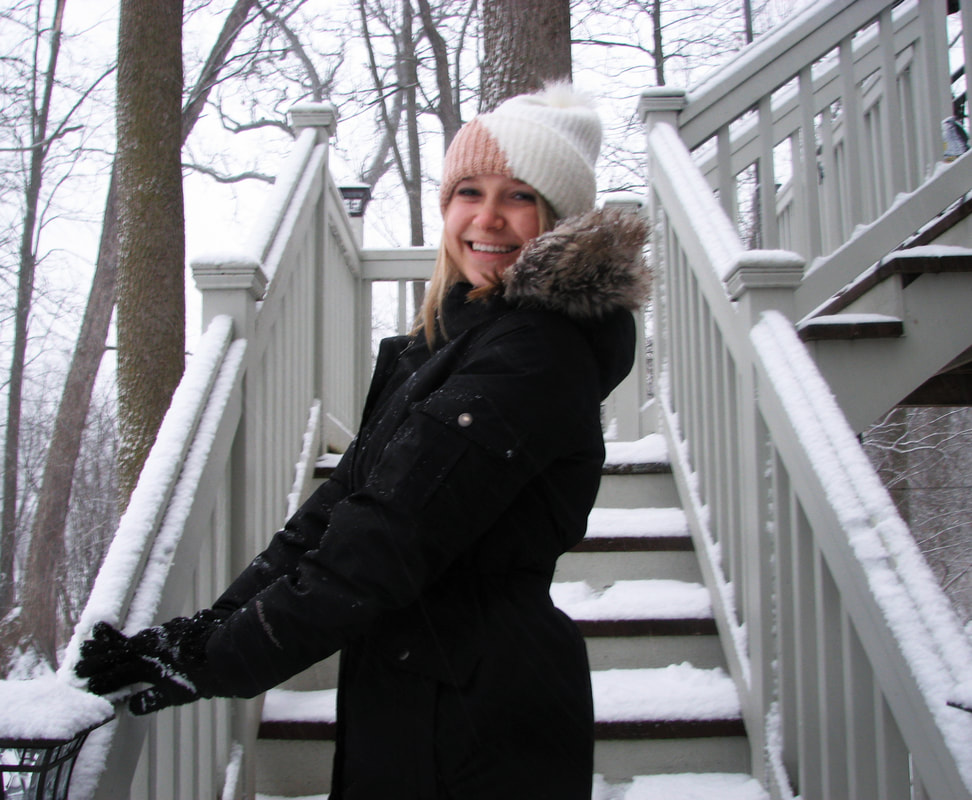 Photo 5, People 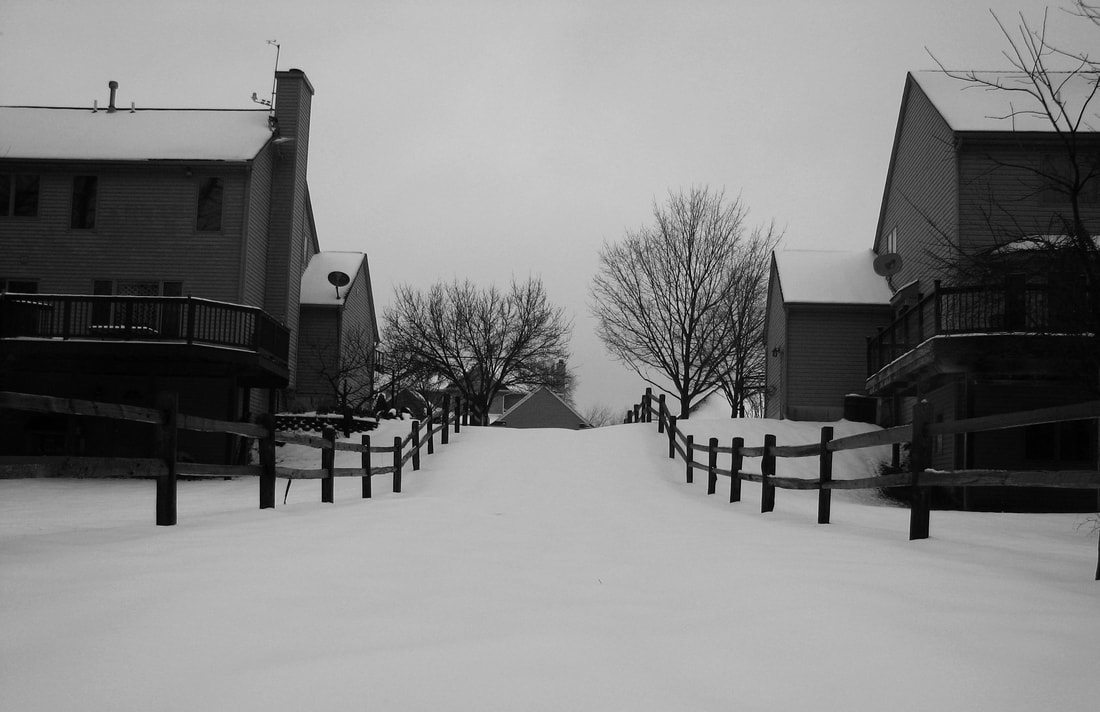 Photo 2, Black and White 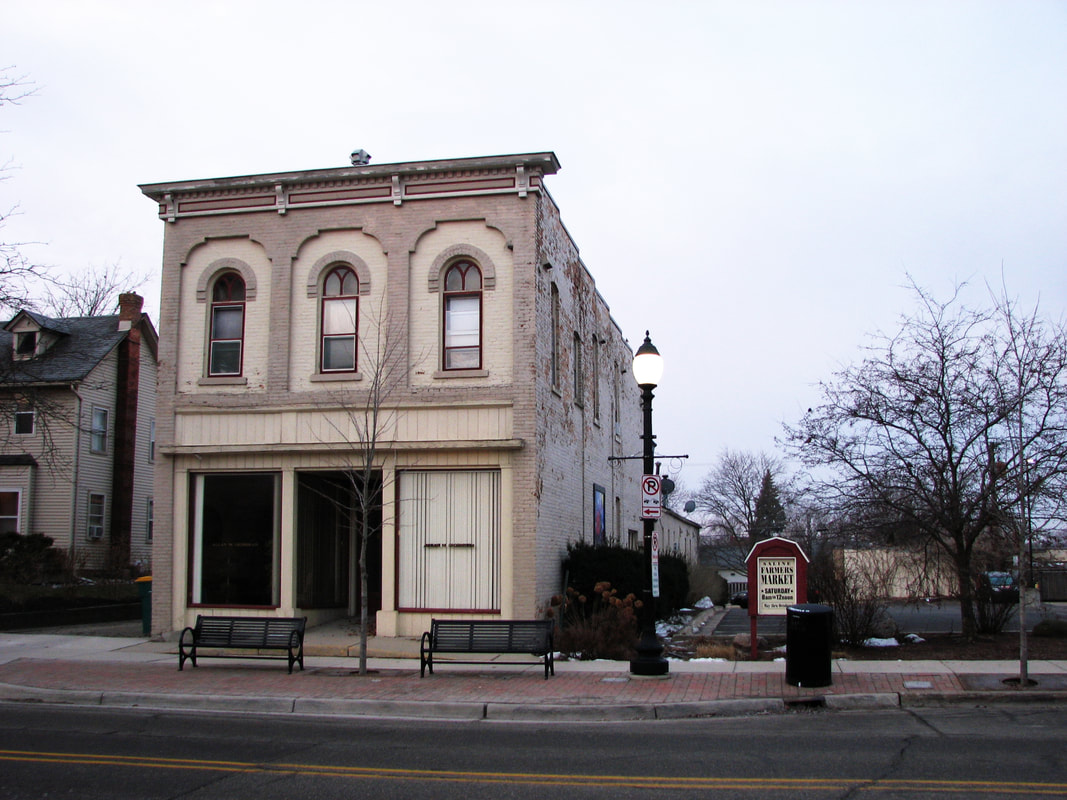 Photo 7, Architecture After taking so many photos, I still did end up with some really bad ones. Here is my worst photo compared to my best photo:
Now that I've discussed my improvement in the realm of taking photos, it is important to address the editing process that follows in photoshop. We did a variety of photoshop assignments in this class that covered everything from photo retouching to completely changing the context of an image. Some of these assignments were harder for me than others, but it was typically the hardest assignments that taught me the most about all of the things one can do in photoshop. Here are some of my best photoshop projects: 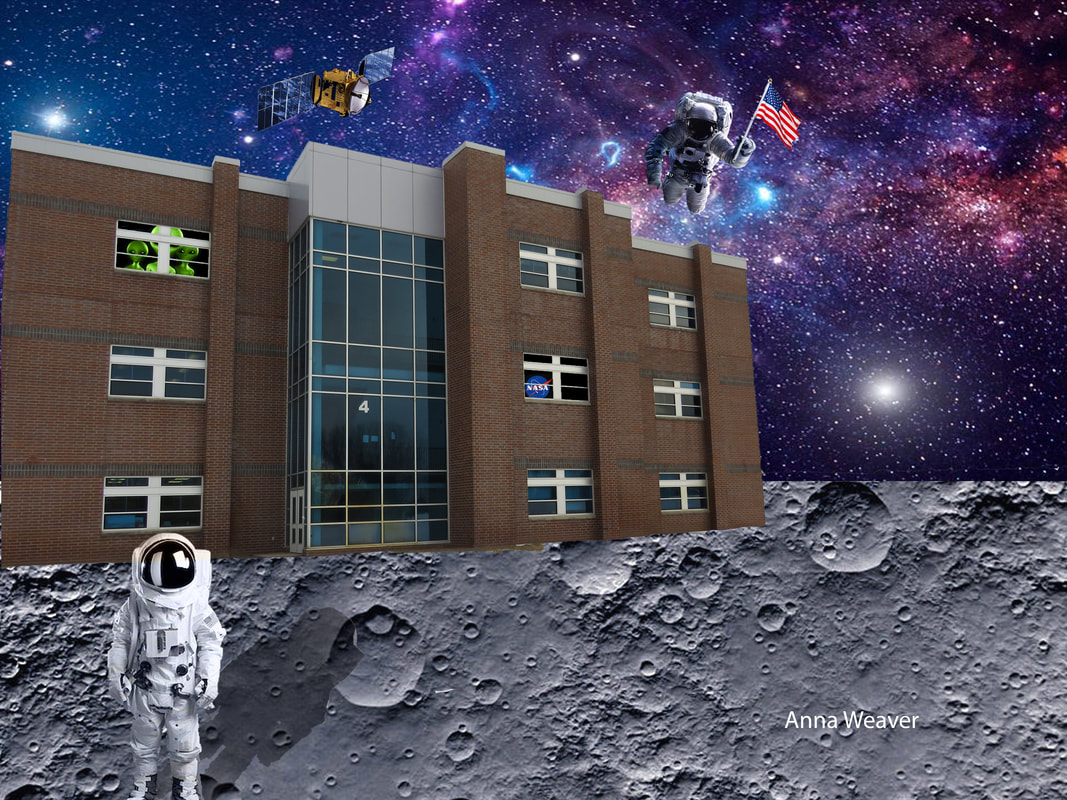 Photoshop #4, School Context Assignment I had a lot of fun with this assignment and I like how many different aspects I added to the photo. I was nervous about doing this assignment well but I am proud of the result. 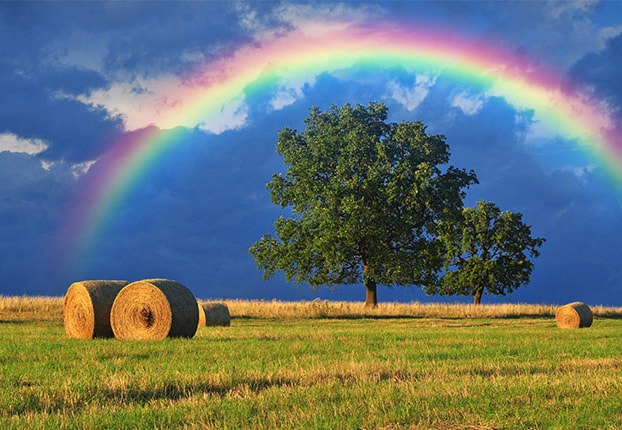 Photoshop #6, Open Tutorials I really like this piece because of how pleasing it is to look at. I had fun playing with the gradient tool for this one to create the rainbow. Now, here are some of my worst photoshop projects that didn't turn out as well as I'd hoped: 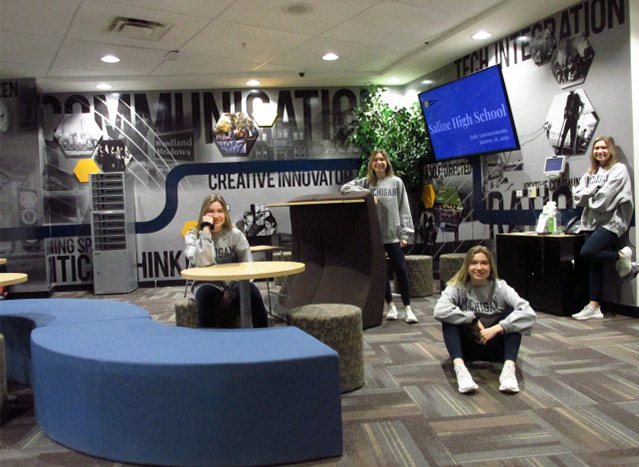 Photoshop #9, Multiple Me This photo is dark and has lots of distracting shadows. I should've adjusted the camera settings or done more with levels and brightness on photoshop to fix lighting and clarity issues. 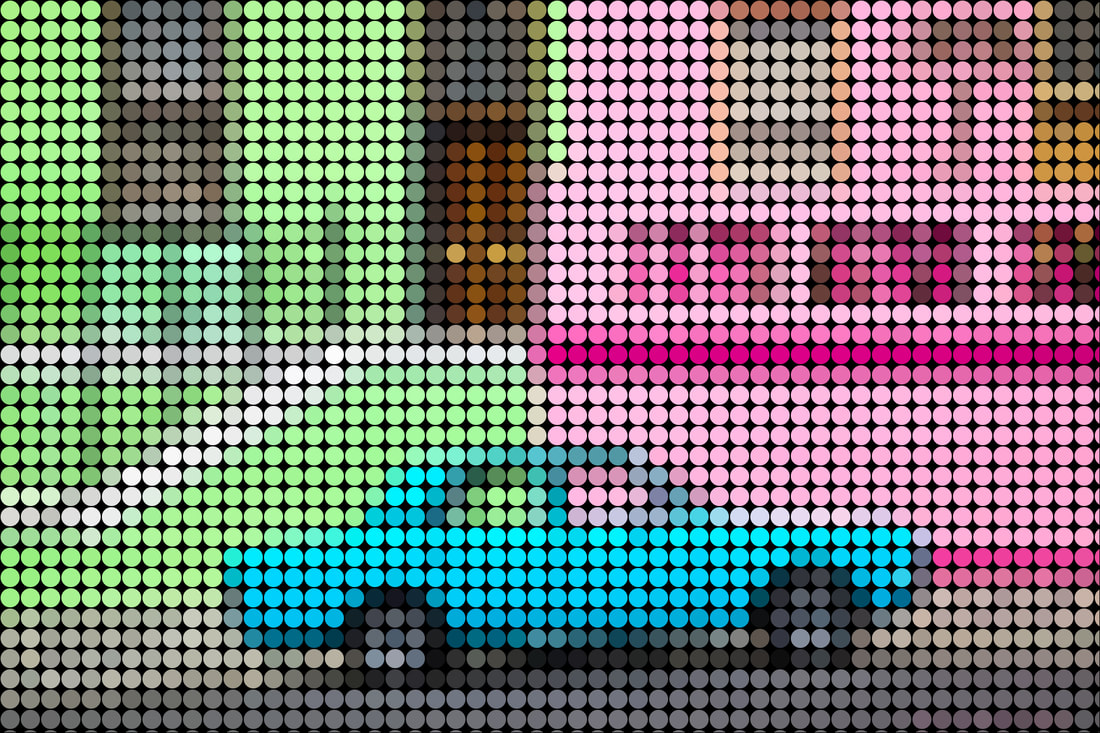 Photoshop #6, Open Tutorials I liked the concept of this piece however it didn't turn out as well as I thought it would. You really have to squint to see the full picture. I think it could've looked better if I took some time to make the dots smaller. All in all, I had a great time in this class and the improvements I made in my photography skills are evident in my work as time progressed. I think there is still a lot I have to learn, but this class gave me a really great introduction to the world of digital photography.
0 Comments
Description:This assignment was all about portrait photography. I was instructed to take two different photos, one in a studio setting with light aids and one outside of the studio using a bounce card to reflect light onto the talent's face. Here are the end results: 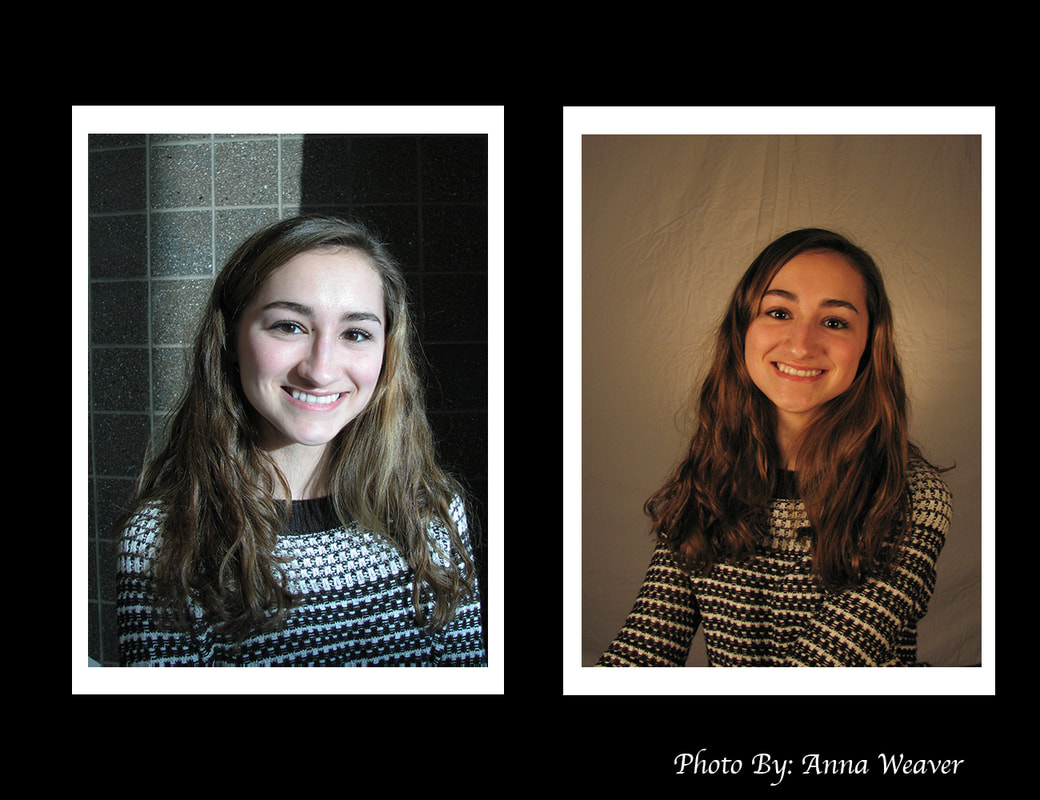 ReflectionThe photo on the left in natural light was more difficult to capture because the sun streaming through a window was causing a lot of shadows on Hannah's face. We had to be creative with the bounce card in order to get the right shot. However, I did get more acclimated to using manual settings on the camera during this assignment which was beneficial. Overall I learned a lot about the art of portrait photography this week and I feel well-equipped to give it a shot in the future.
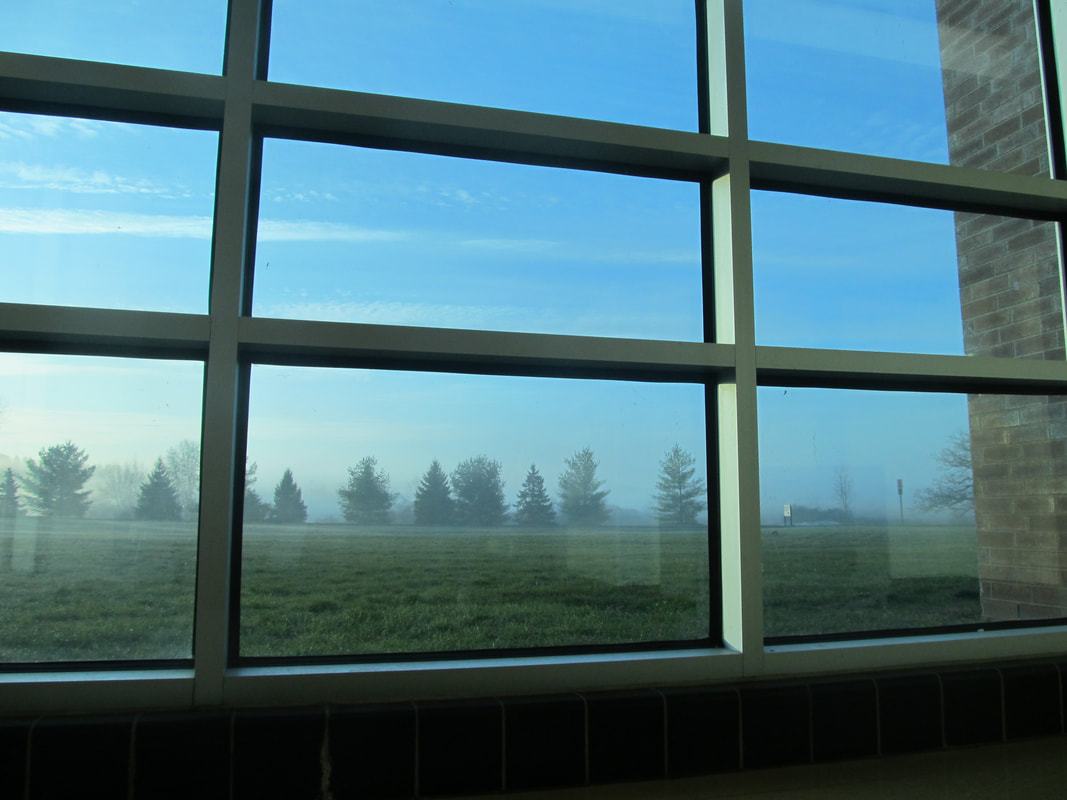
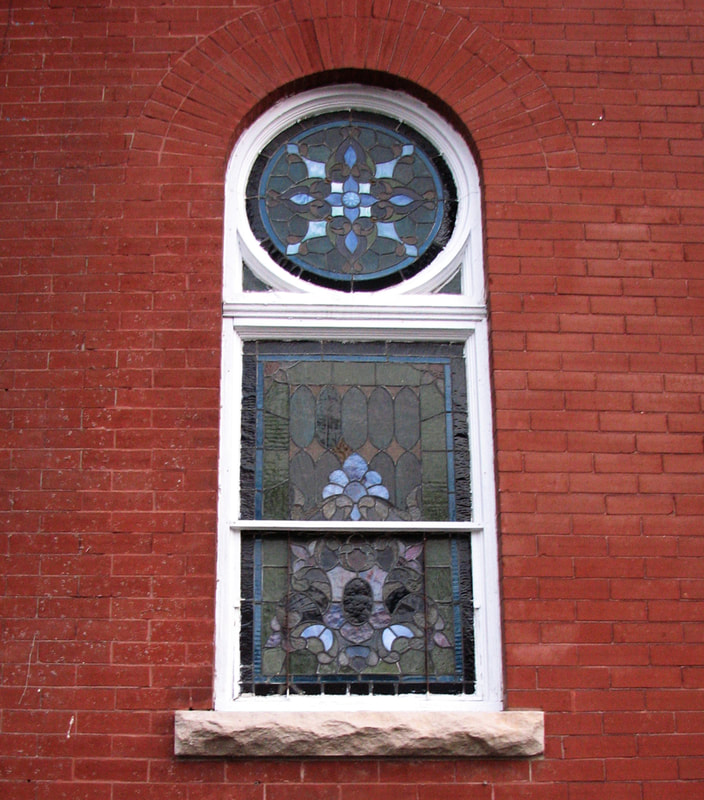
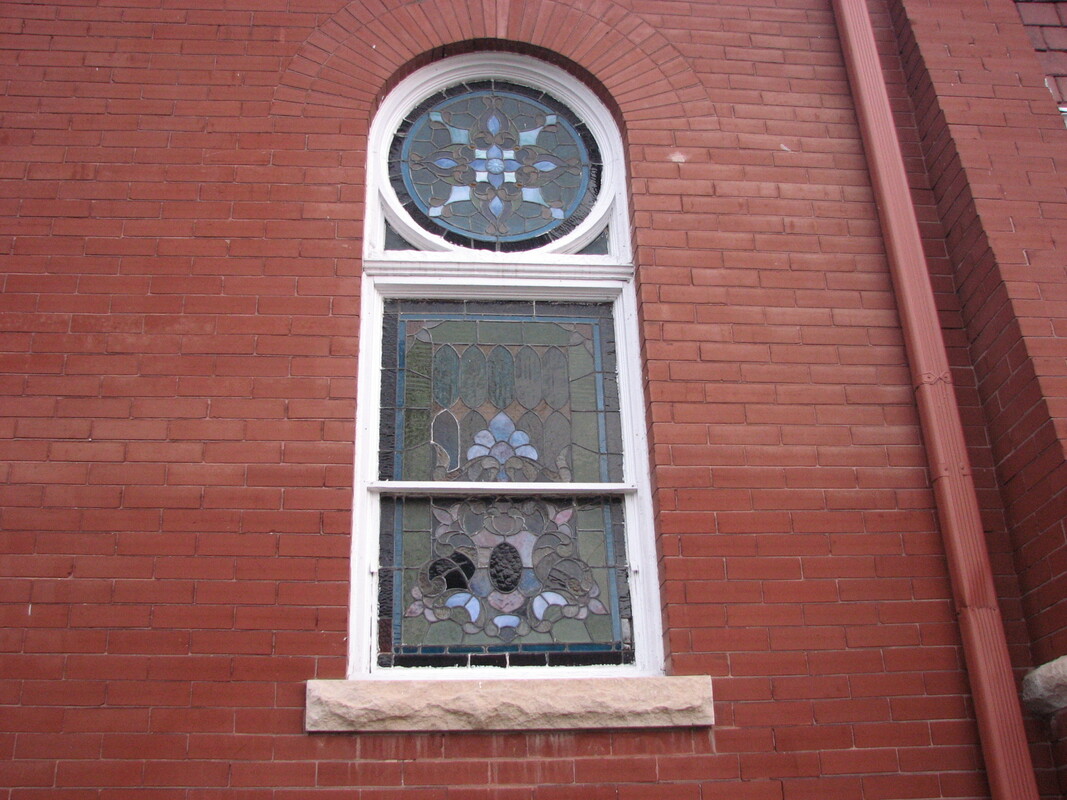
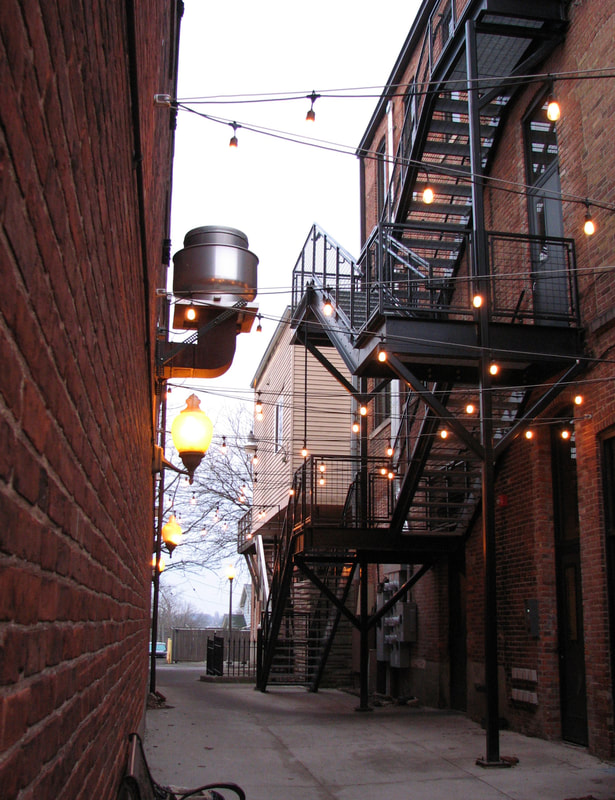
DescriptionFor this week's shooting assignment, I decided to take photos of the architecture in downtown Saline. This assignment really made me appreciate the beautiful building in our town. Here is my best photo:
Shutter Speed: 1/30 Aperture: f 2.7 ISO: 233 Here are my next 5 best photos:
ReflectionI love taking photos of architecture because you can utilize so many different angles and composition techniques. I took these photos early in the morning so I had to work with the lighting a little bit but I think the sunrise and low light worked to my advantage. I really like how the photos turned out.
DescriptionFor this assignment, we were instructed to create two images inspired by two unique words from the dictionary. I chose the words disenthrall and nostalgia. 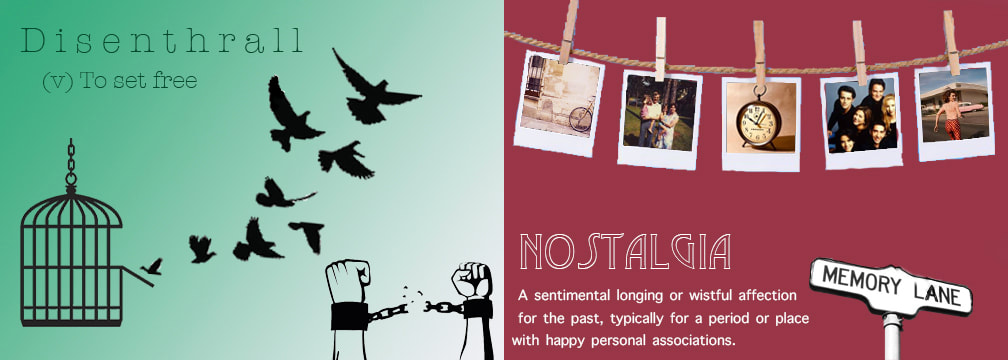 ReflectionThis assignment was fun because I had some freedom regarding what words to use and editing techniques to utilize. It took a little longer for one of the words because I was a little too ambitious with editing but I finished it and I'm proud of the result.
DescriptionI had some fun this week capturing the trees and lake in my backyard against a colorful sunset. I really like nature photography so I was excited to give it a shot this week. Here is my best photo, I liked it because of the reflection of the trees on the water. 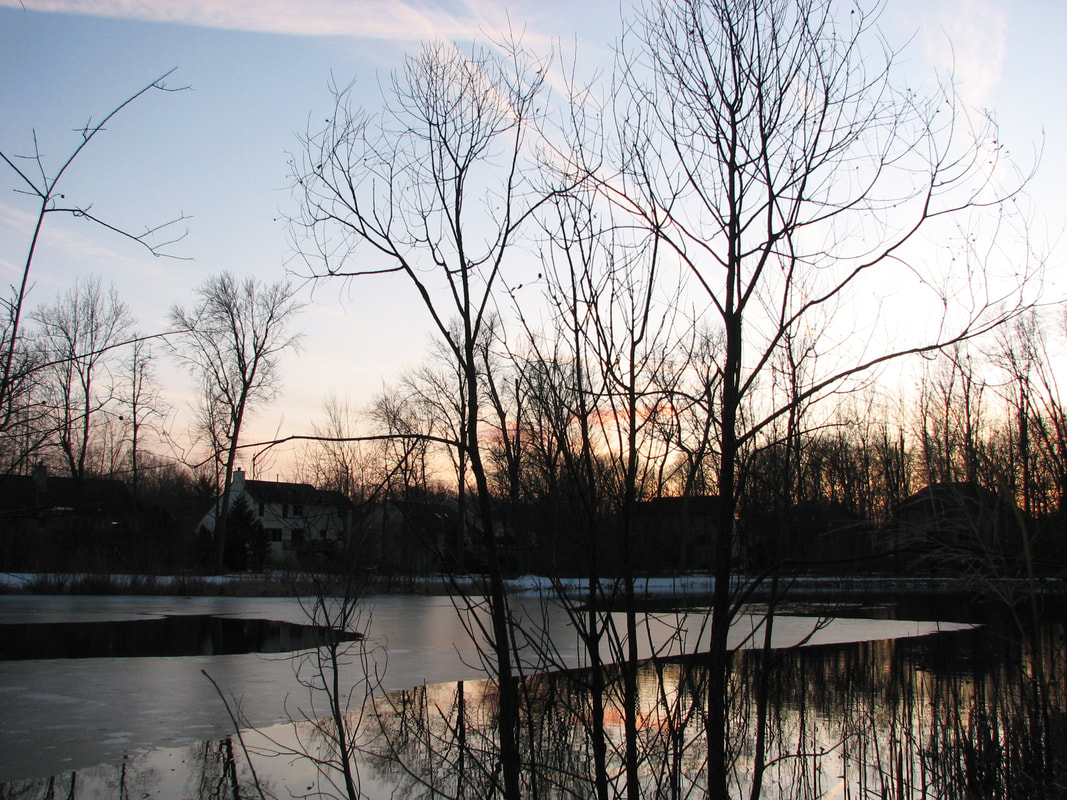 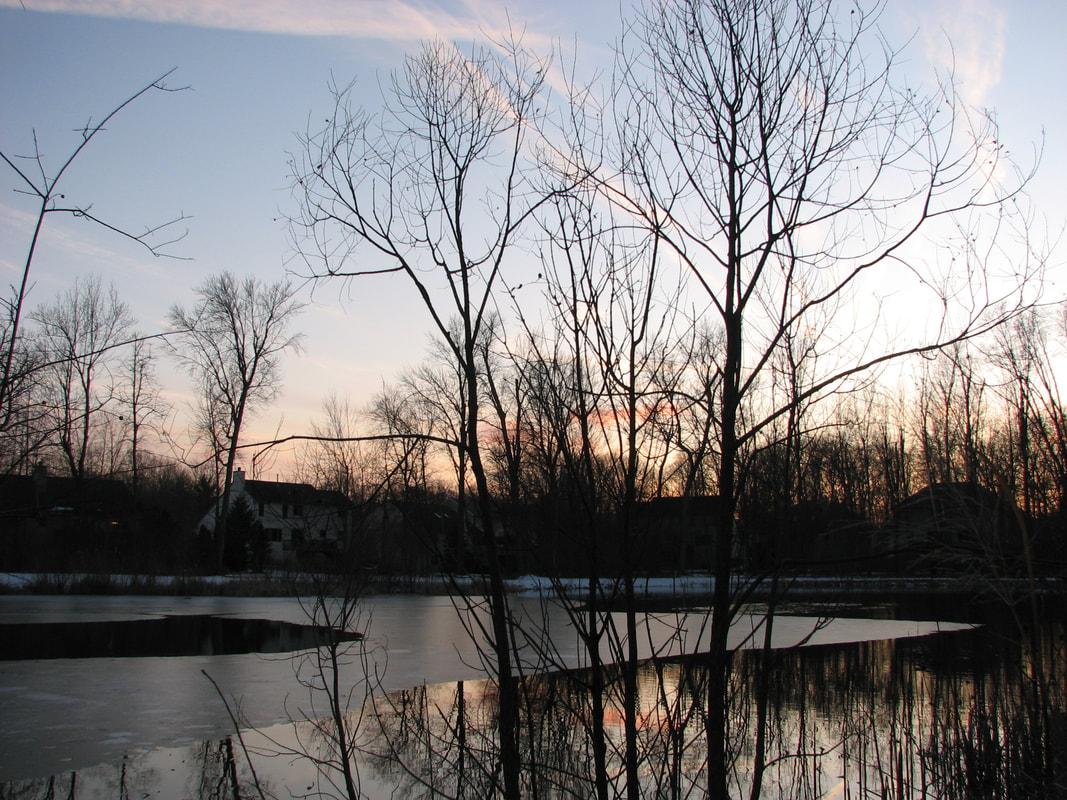 Shutter Speed: 1/100 Aperture: f 4.0 ISO: 75 Edits: I made very few edits to this photo because I didn't think it needed much. I simply enhanced it by altering the levels, brightness, and contrast. Here are my next 5 best photos: 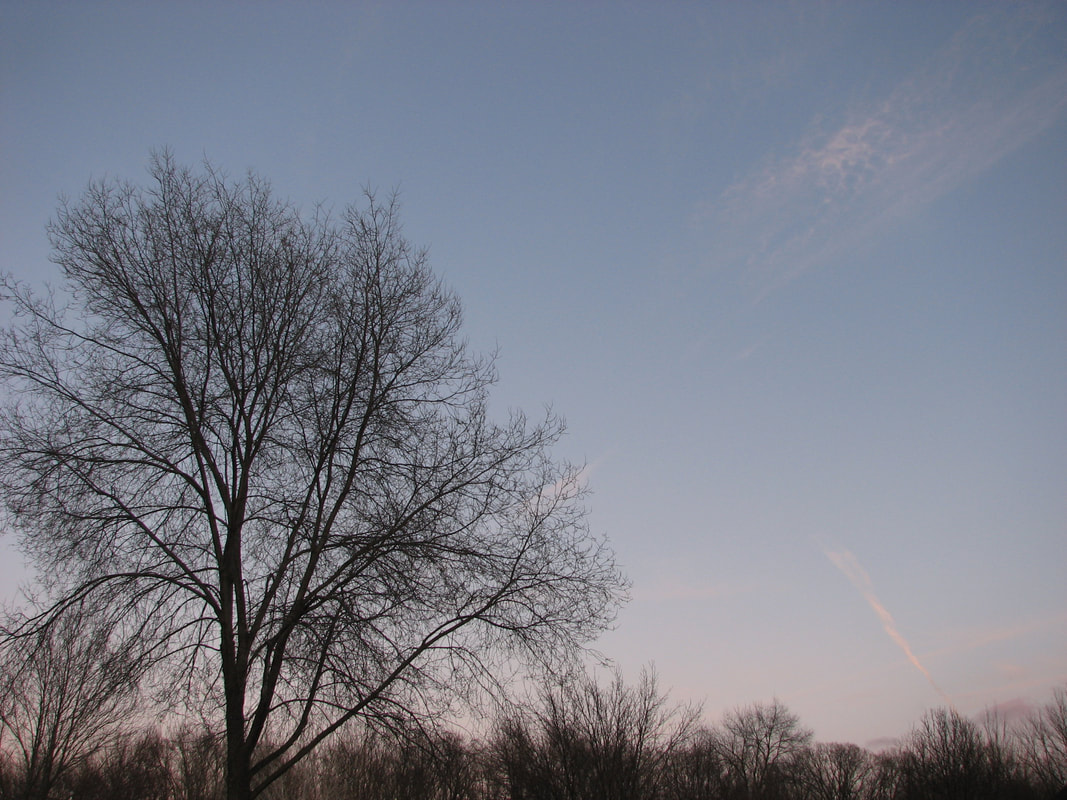 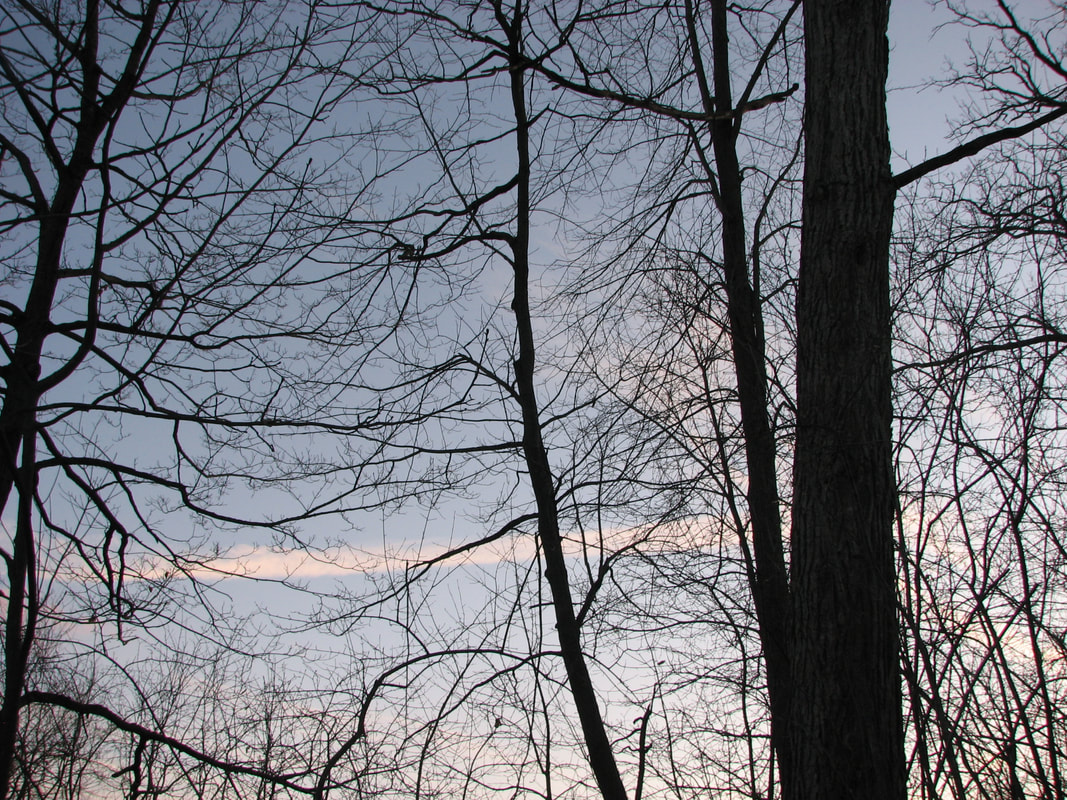 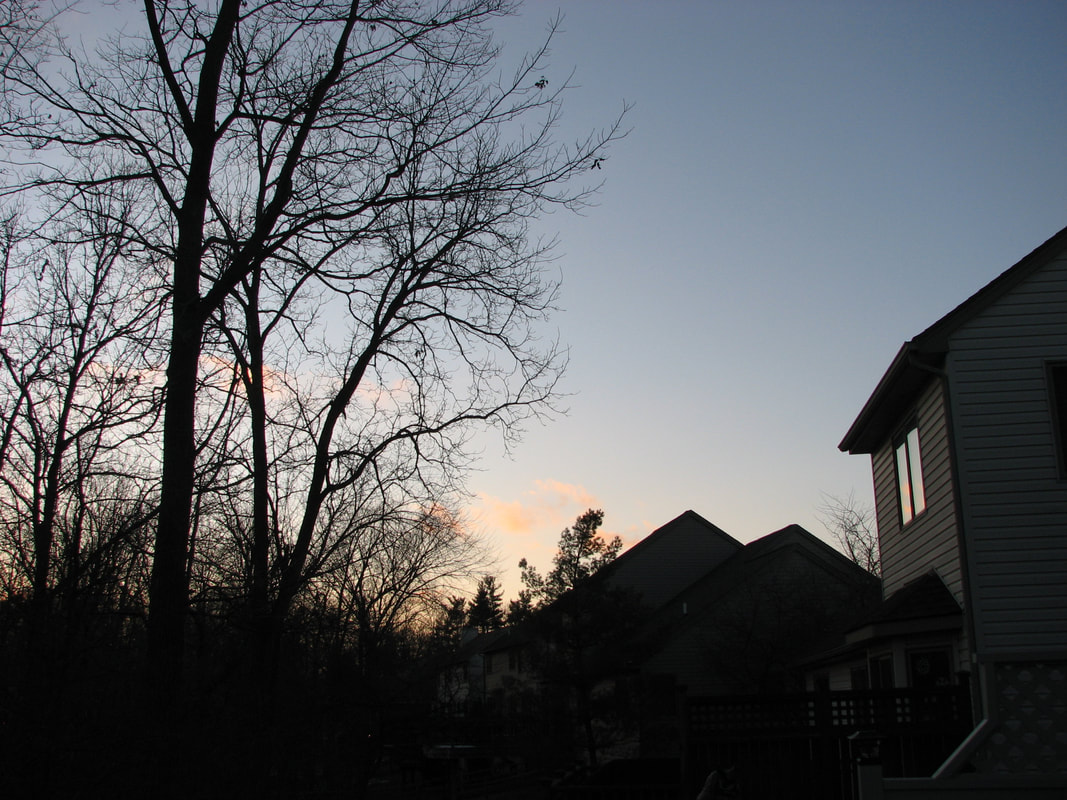 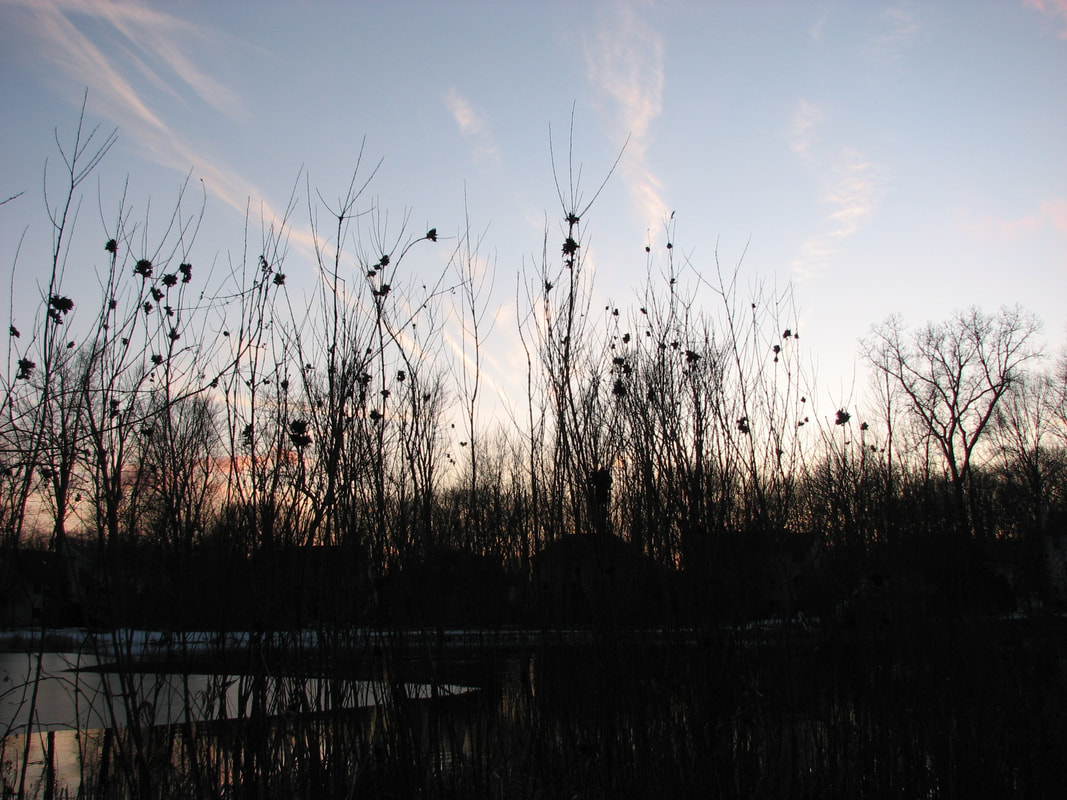 ReflectionI had some difficulty this week with finding different scenes to capture but I think overall I didn't end up having too much trouble. My only concern is that some photos are a little too dark but I really like the colors in the photos and how you can only see the silhouette of the tress and plants.
DescriptionThis week, I decided to photograph my twin sister Allie for the "people" assignment. I really wanted to capture her personality in the photos and I think my best photo portrays it most accurately. Here is the unedited version compared to the edited one: 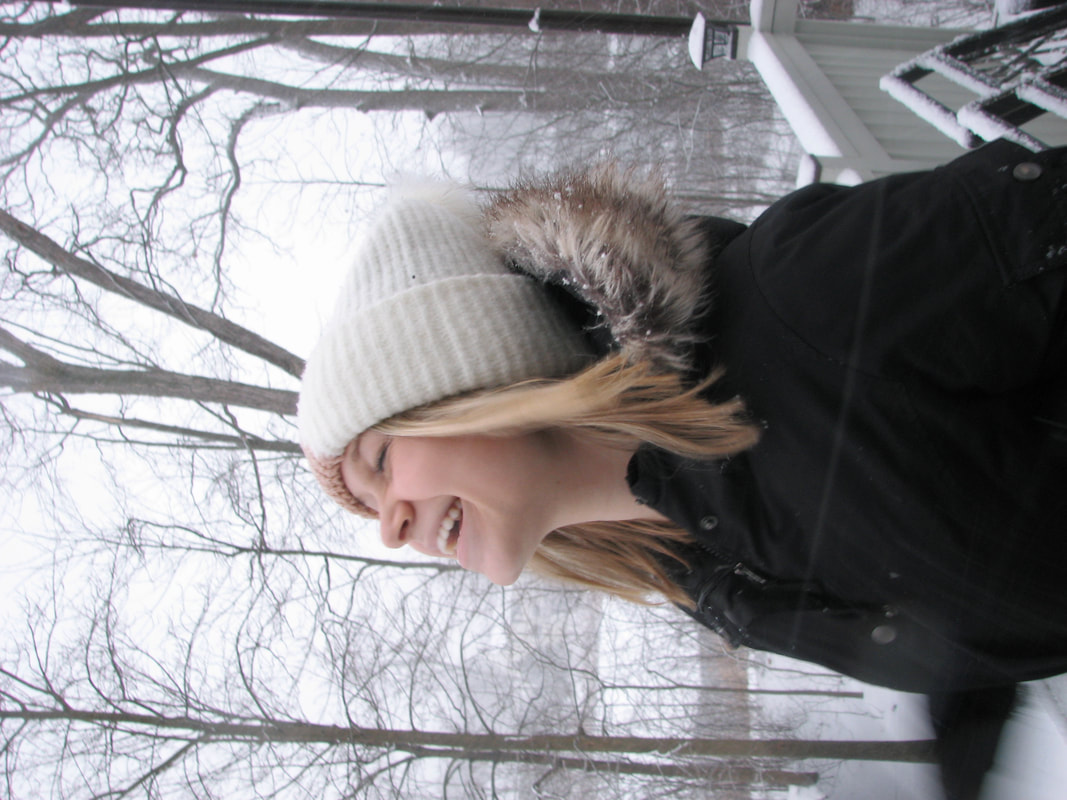 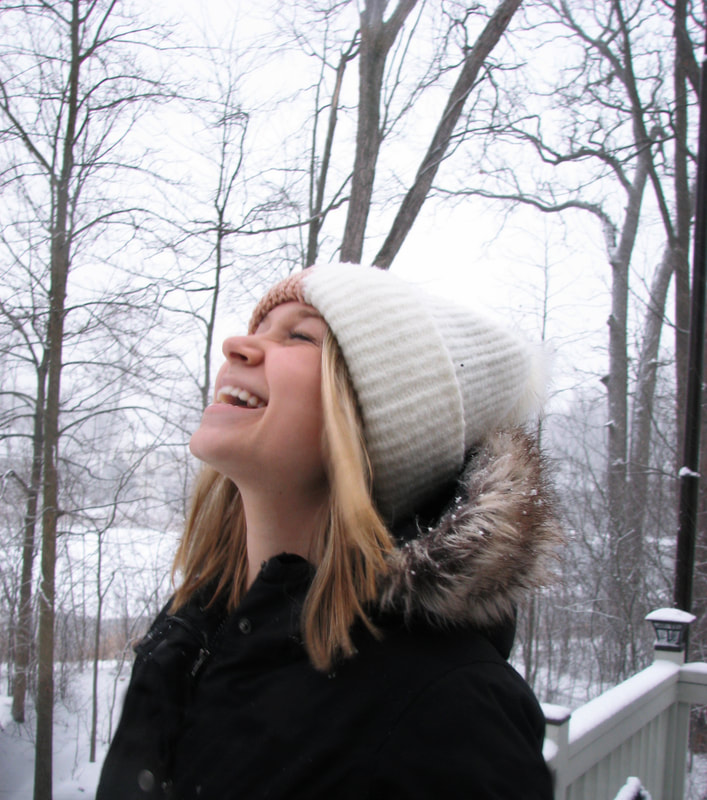 Shutter Speed: 1/10 Aperture: 2.7 ISO: 75 Edits: I obviously rotated the picture so it was no longer side-ways and cropped out the blurred parts of the image. I also used the clone stamp to remove some of the snow streaks on Allie's coat and brightened the image by adjusting levels and brightness & contrast. Here are my 5 next best photos (in no particular order): 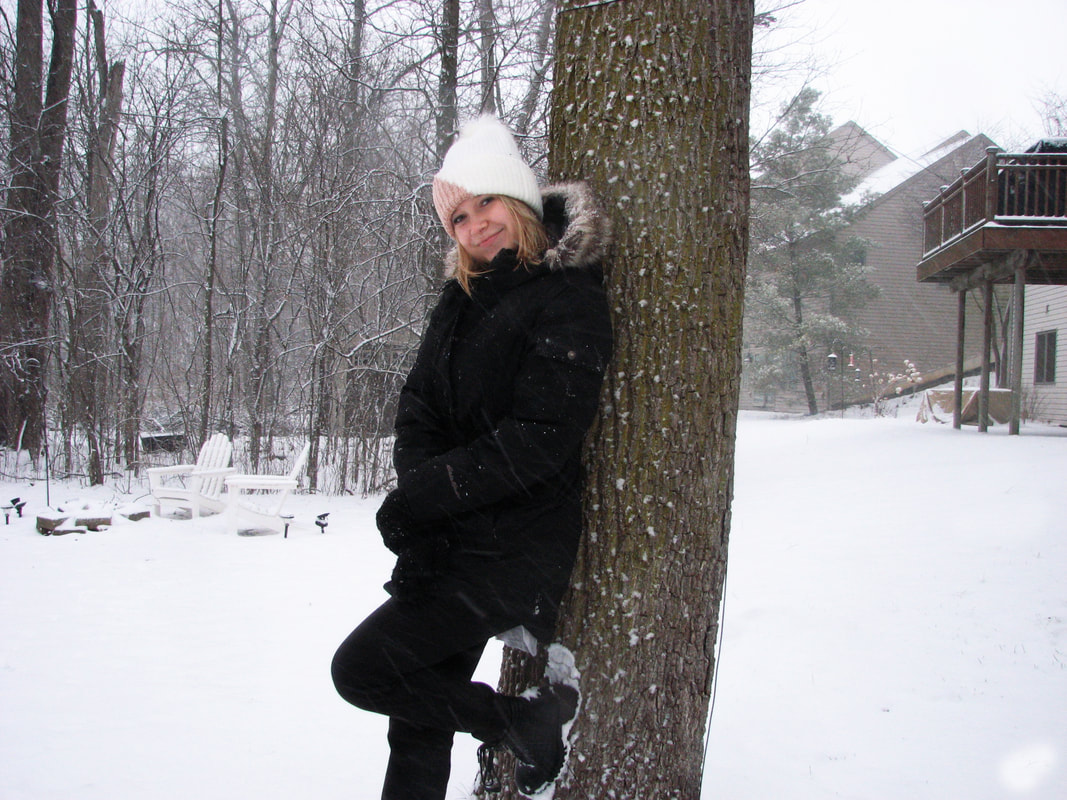 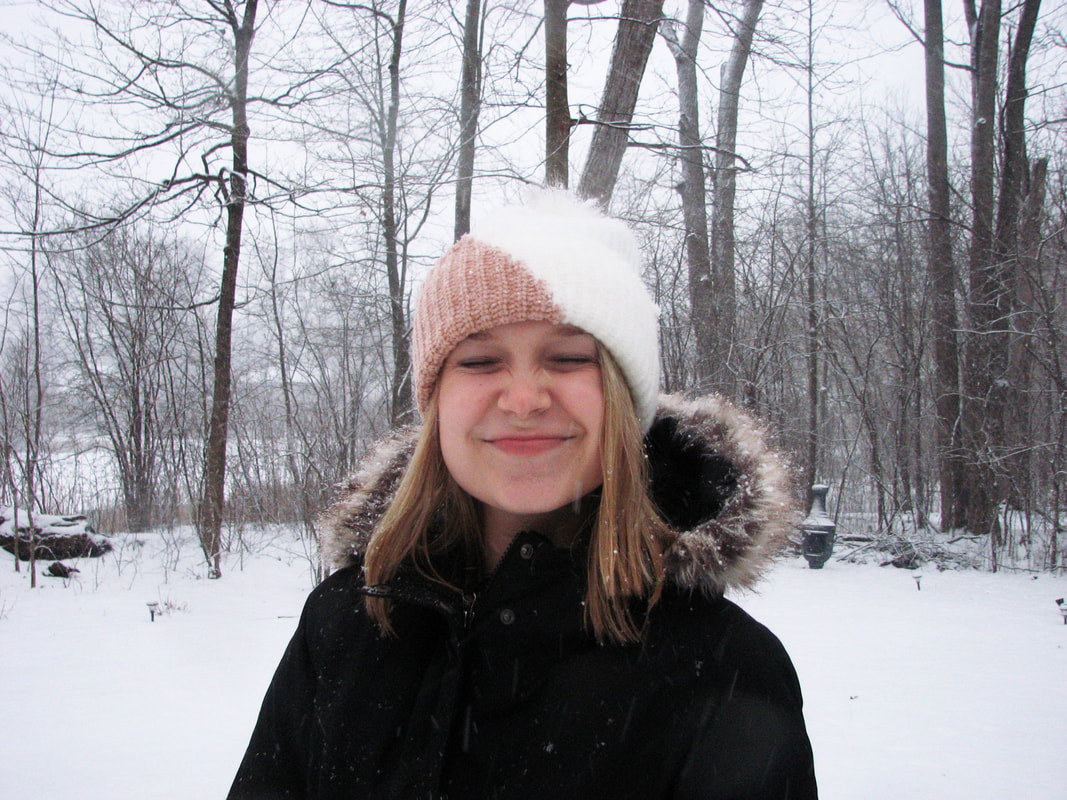 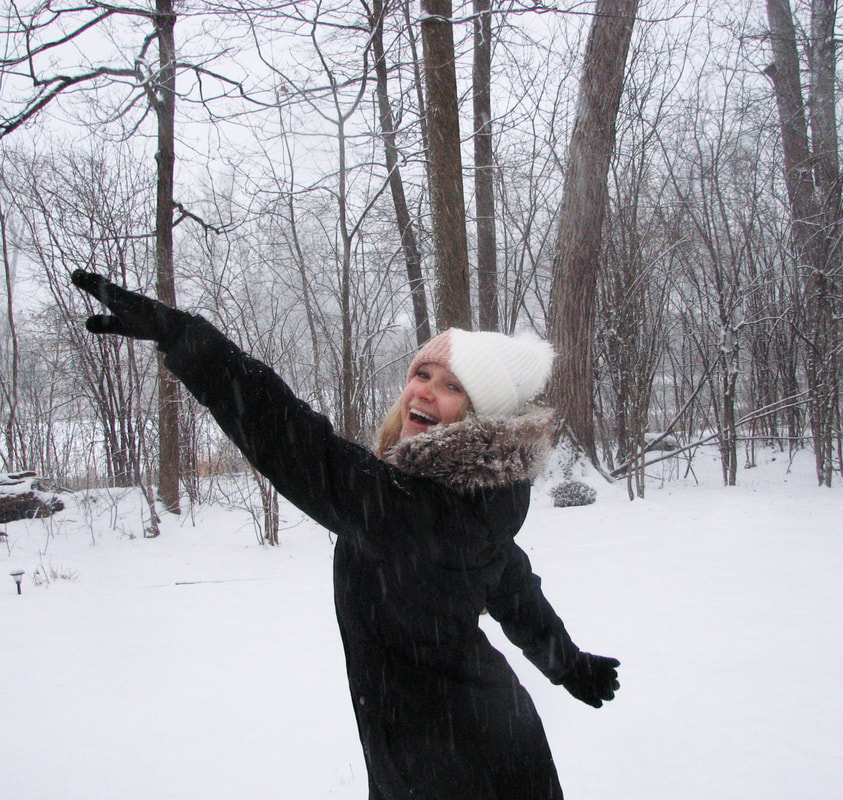 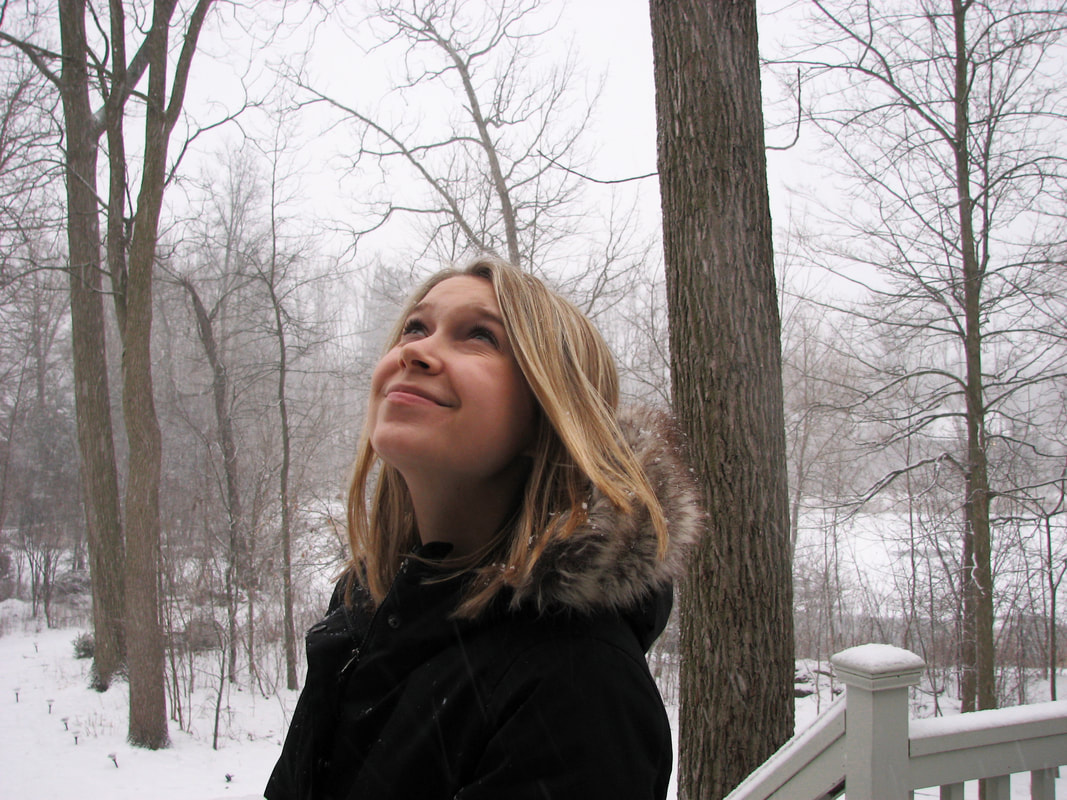 ReflectionI had a lot of fun this week because it was snowing outside when I took these and Allie is great at posing for the camera. For the most part it was super easy, the only obstacle was the fact that we were losing light and the lens was getting wet from the snow.
DescriptionFor this week's assignment, I was given free rein on photoshop tutorials to follow to familiarize myself better with the app. Since I am pretty slow when it comes to photoshop and the difficulty of the tutorials varied, some took longer to complete than others. Here are the four finished products: Tutorial #1: Dash of color
This tutorial was the easiest and quickest to complete. You probably notice that the image has a little more than a "dash" of color because the background is colorful as well, but I couldn't bear to leave those colors out of the image. I like how the effect makes Allie's hair tie and the background stand out. I used the history brush for the first time with this tutorial, so I still learned something new. Tutorial #2: Polaroids
This tutorial was pretty fun and easy for me. I learned a lot of new skills doing it so it was also great practice. I learned how to create a clipping mask, how to add a drop shadow on an image, and how to create a layer group. I had some difficulties lining up the polaroids well enough so that the image was clear but I think it turned out well overall. Tutorial #3: Dot Pattern
This tutorial was a little more time consuming than the rest but I think the result was worth it. In this tutorial I learned how to convert a photo into a smart object, apply the mosaic filter, how to create a custom pattern and fill a layer mask with it, and also how to add a stroke around the dots to make them stand out more. This tutorial was very educational and fun. Tutorial #4: Rainbow
This tutorial was another fairly easy one for me, but I also really liked it because of how nice the rainbow effect looks on an image. I learned how to manipulate the gradient tool for this tutorial and became much more familiar with it for future reference. I only had some minor difficulties in placement of the rainbow but after experimenting for a little while I figured it out.
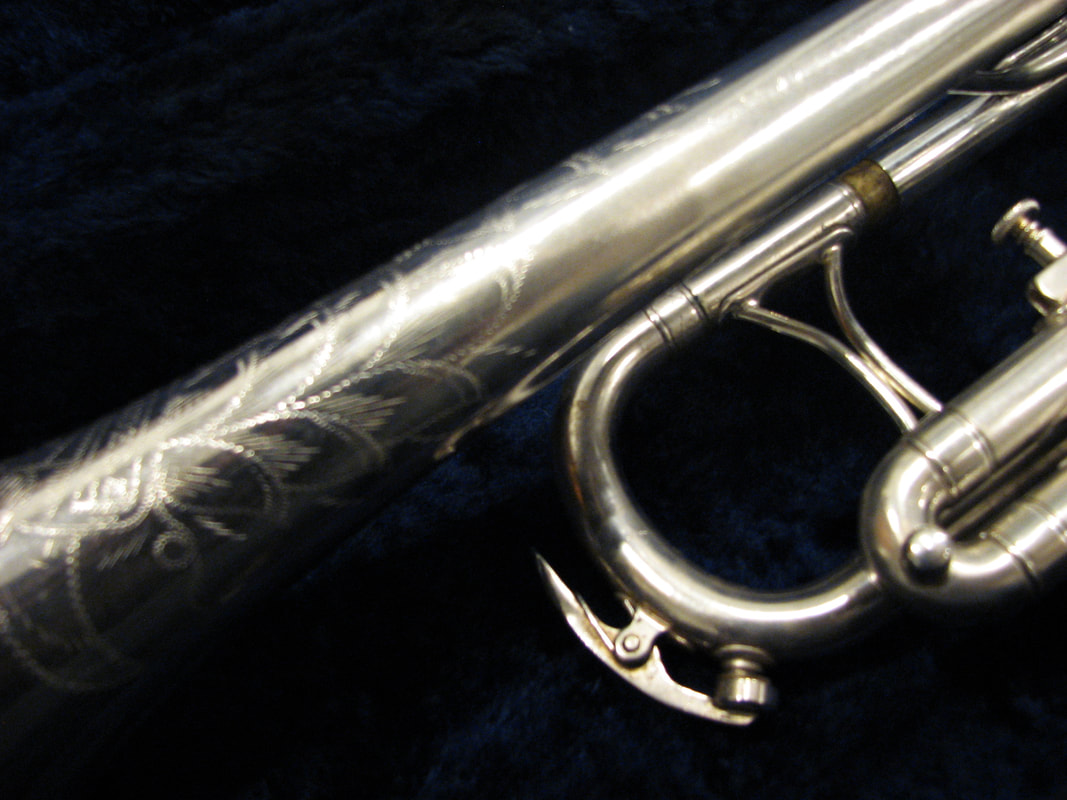
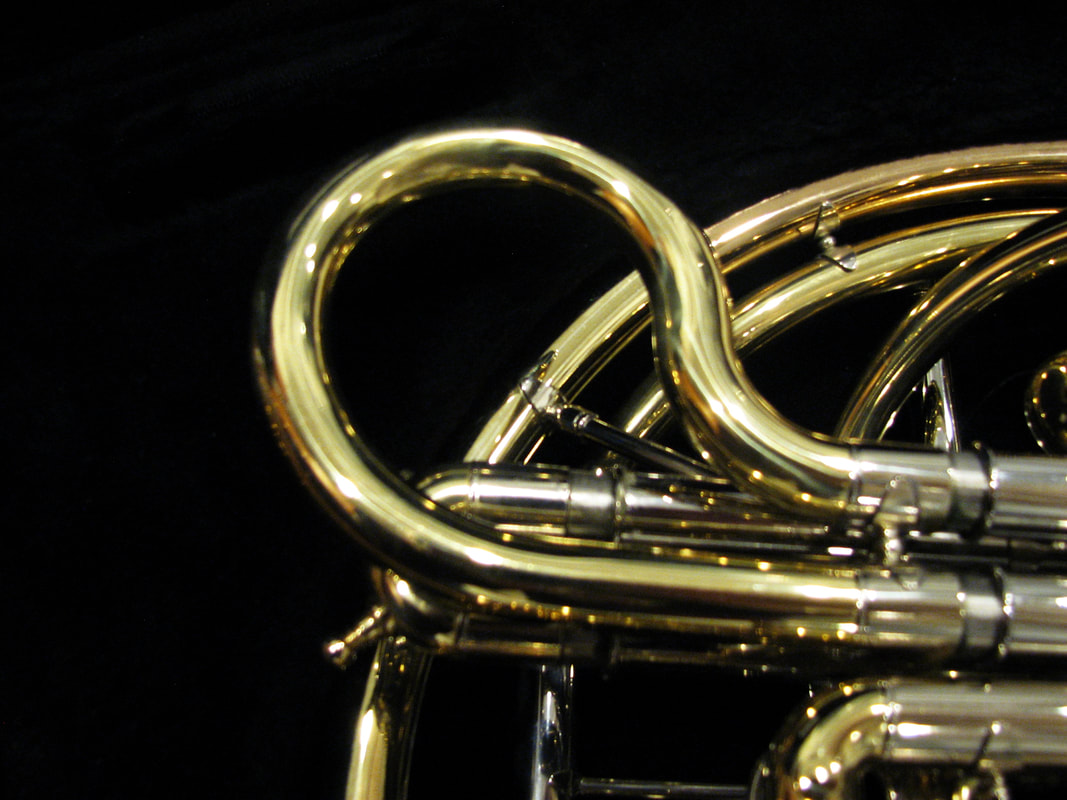
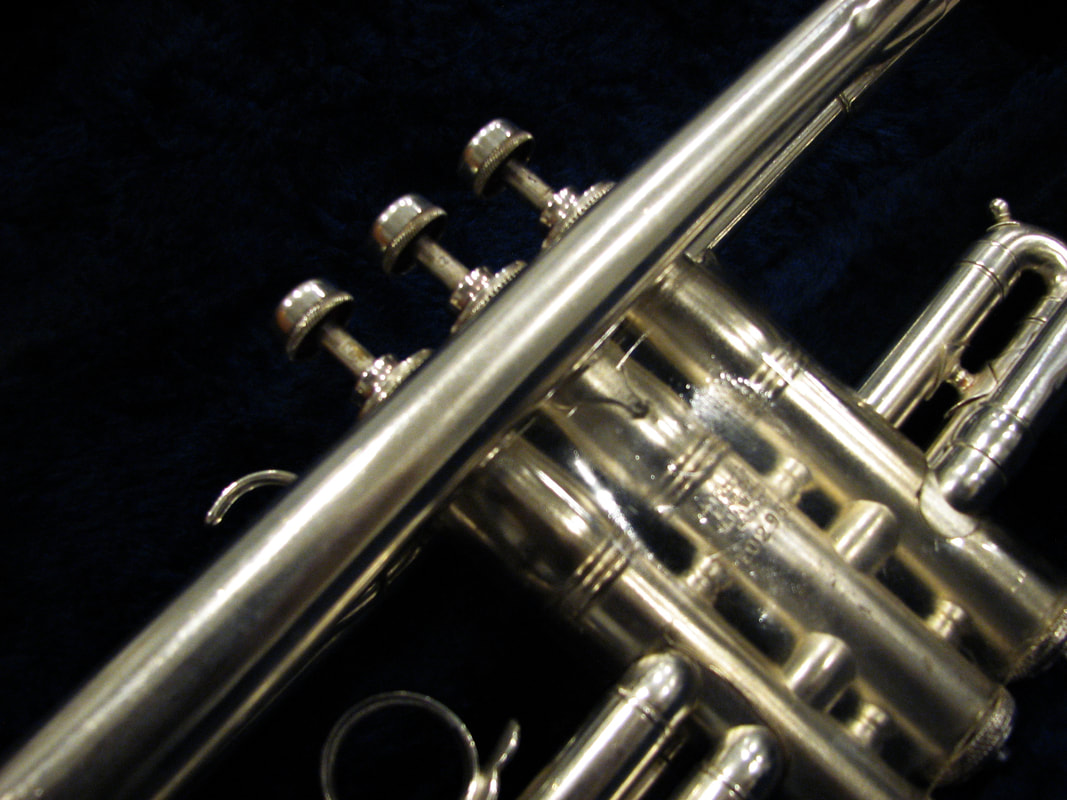
DescriptionFor this week's shooting assignment, I chose to do macro photography. Because I had a band competition this weekend, I was inspired to take some pictures of my sister and I's instruments. Here is my best photo of my sister's french horn, unedited: 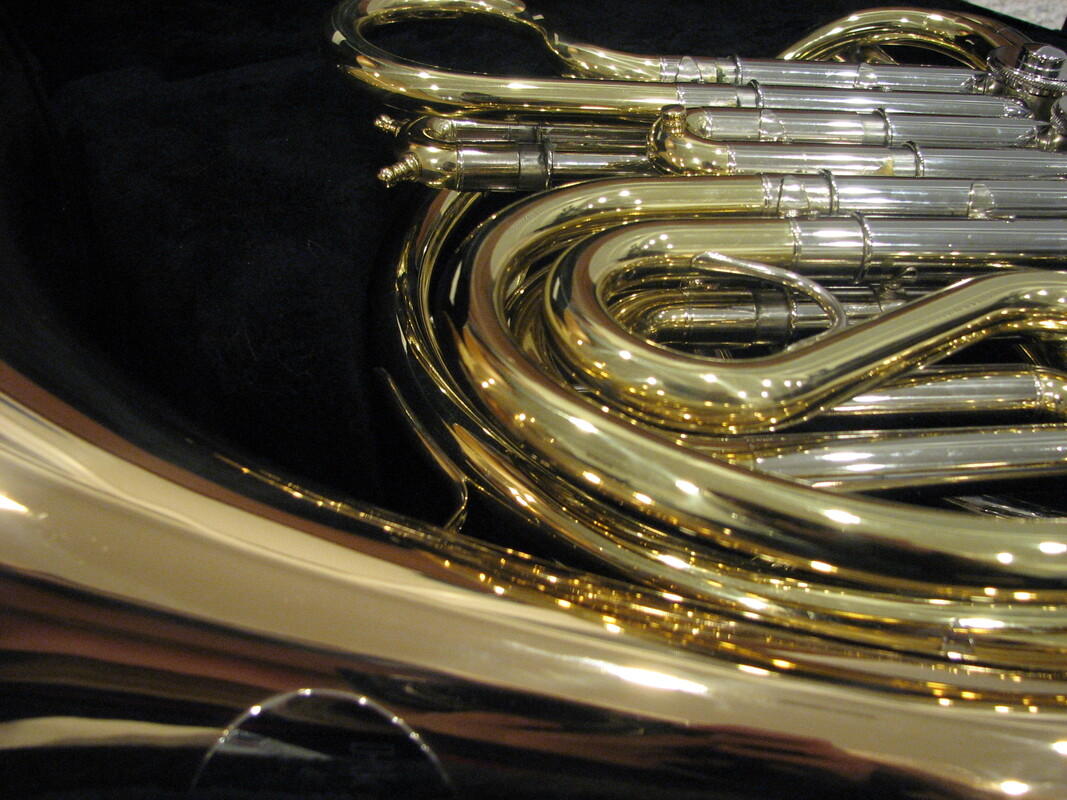 Here is the final edited version:  Shutter Speed: 1/15 Aperture: f 2.7 ISO: 233 Edits: I painted in parts of the background to keep it all black so the instrument could stand out more. I also clone stamped some of the glare off of the instrument so it wasn't too bright. Finally, I adjusted the levels, brightness, and contrast to make the brassy components of the instrument stand out. Here are my next 5 best macro photos:
ReflectionThis assignment was somewhat difficult because it took a lot of setup. Adjusting the camera settings to make sure nothing was blurry also became a little tedious. Despite this, I had fun exploring different angles and composition styles and I hope to improve my macro photography skills more in the future.
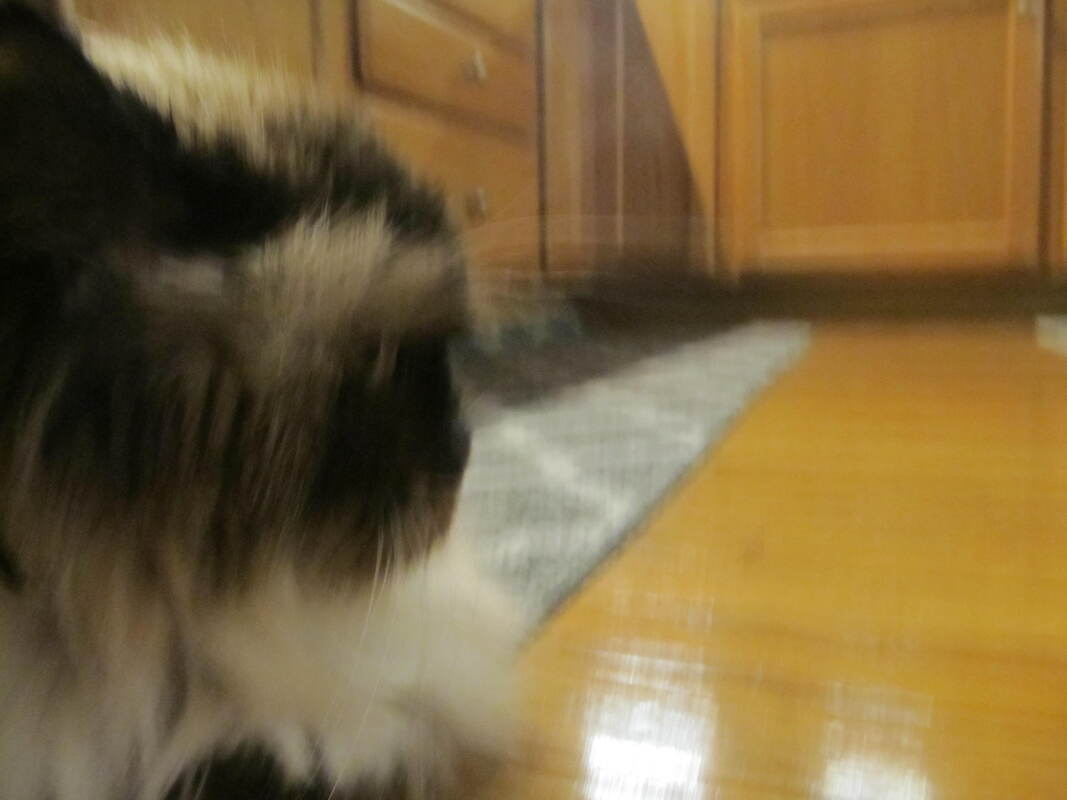
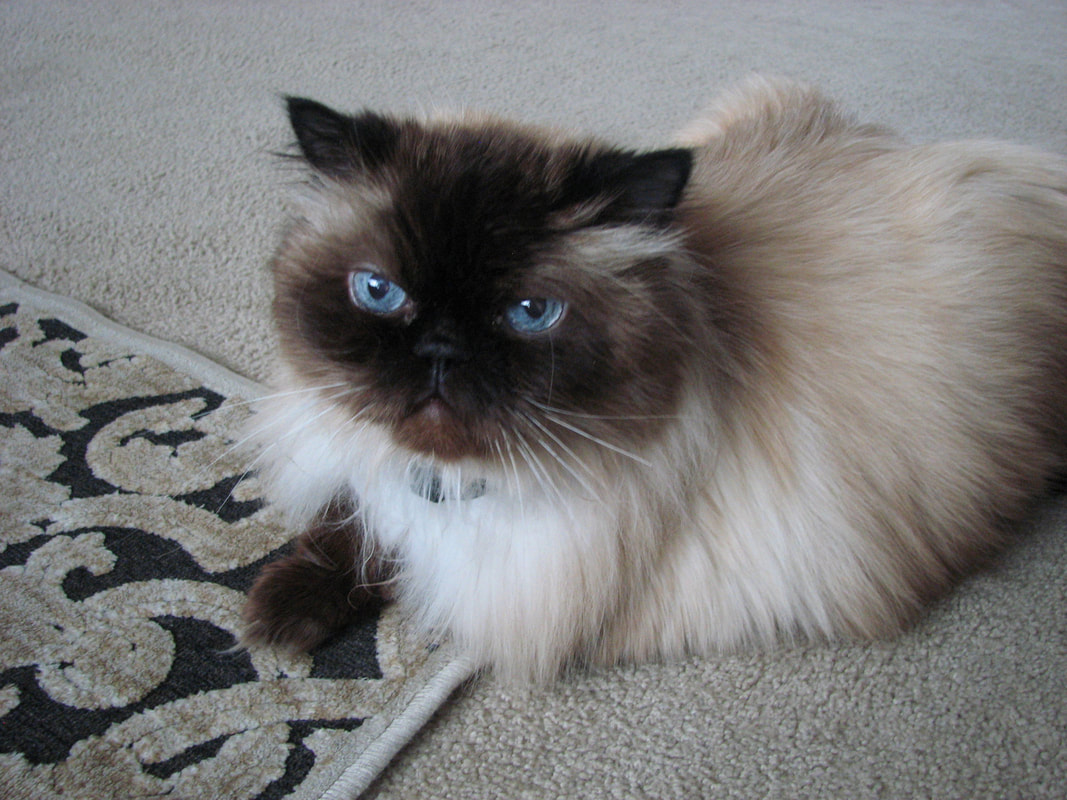
DescriptionFor this week's shooting assignment, I chose to do animals. As you can probably tell, I took this opportunity to take pictures of my cat Paws. Here is by best photo:  Aperture: 2.7 Shutter Speed: 1/13 ISO: 233 Edits: I altered the levels and contrast to make Paws' big blue eyes pop more. 
ReflectionI had a lot of fun with this week's assignment, despite the fact that paws was difficult to photograph at times. He was moving a lot, so I tried to combat for that fact by using a faster shutter speed. Overall I'm pleased with the results.
DescriptionFor this next photoshop assignment, I was asked to take a photo of Saline High School and then change the context of the photo using various tools in photoshop. The image had to have a theme, so for my piece I chose the theme outer space. Here is the finished product: ReflectionThis assignment was the hardest one skill-wise for me so far because I struggled a lot with editing but eventually I got the hang of it towards the end. I'm proud of how it turned out given the obstacles I faced and I hope to keep improving my photoshop skills in the future.
|
AuthorAnna Weaver is a high school student and an aspiring photographer. Archives
March 2020
Categories |


 RSS Feed
